Okay, I have written this three times now, so I hope this will take this go around.
Things that you will have to remove before you can replace the front cable (this is the one that goes from the parking brake lever [hereafter known as "lever"] and the equalizing plate found under the inspection flap of carpet under the back seat): both rear bottom seats, the jack mounting bracket, carpet and the center console.
The pictures attached will show all the various items mentioned below.
Step one: flip the rear bottom seats forward, remove all the jack items from the bracket. See photo
Step two: using a 10mm socket, remove the seat brackets and remove seats. See photo
Step three: remove the jack mounting bracket. See photo
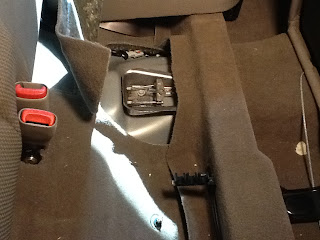
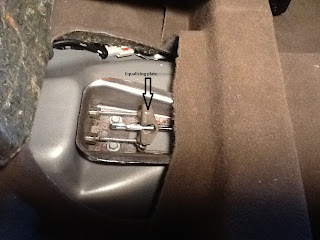
Step four: flip the inspection piece of carpet up and locate equalizing plate. See photo
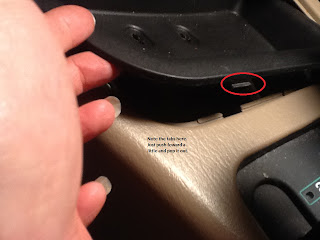
Step five: remove the rubber piece from the foward part of the console and locate two screws underneath and remove them. Carefully push forward on the plastic piece and pop out. It has two tabs located on the back side toward the rear of the vehicle. See photos.
Step six: remove the cup holder by lifting out and locate the two screws under and remove them. See photo
Step seven: Open the cup holder for the rear passengers. See photo
Step eight: Locate the two screws at the bottom of the console storage piece and remove them. See photo
Step nine: Remove the inner storage piece and then locate the three remaining screws required to remove the console. See photos step 9-9a
Step ten: Lift the rear of the console up and carefully pull towards the back of the vehicle. You will have to make sure the gear shift lever and 4X4 lever (if you have one) clear the holes and then, just pop it out and set it out of the way. No photo sorry, forgot to get it, but I was doing this alone, so not enough hands. NO PHOTO
Step eleven: pull the carpet from the rear forward and access the cable area. Depending on where your cable broke, your picture will vary from mine. Mine broke at the lever and so the cable with the rectangular end was still in place. See photo step 11
Step twelve: remove your cable. To remove the grommet piece that goes through the front bracket. See photos step 12 and 12a
Step thirteen: put new cable in place using photos to see how it should look. My husband and daughter actually did this part while I was sleeping, so no pictures of actual carpet pulled back. See photos Step 11 and 12 for what it should look like though.
Step fourteen: to place the cylindral piece properly into the lever, I spun the back plate around that has the catch for the tension spring on it to the 3 O'clock position, then brought the tension spring to meet it. I used an 8mm combo wrench to push it up to the 12 O'clock position and then stuck a screwdriver in the hole at top to hold it in place while using my other hand to put the cylindrical cable end into position. See photo Step 14
Step 15: If you have placed everything correctly, it should look like photo Step 15 at the lever in the down position.
Step 16: pull the lever up and you should feel tension on the cable. You may have to put it up and down twice before you feel tension as it has to self adjust. See photo Step 16.
Step 17: Put everything back in reverse order and you are done. Do check the switch before you put it all back together. See photos Step 17 and Step 17a.
Tools used


